Dual Monitor Kit Assembly on the HMI
How to assemble the Dual Monitor Kit on an HMI!
I have found this is the best order to assemble this kit. Follow the photos.
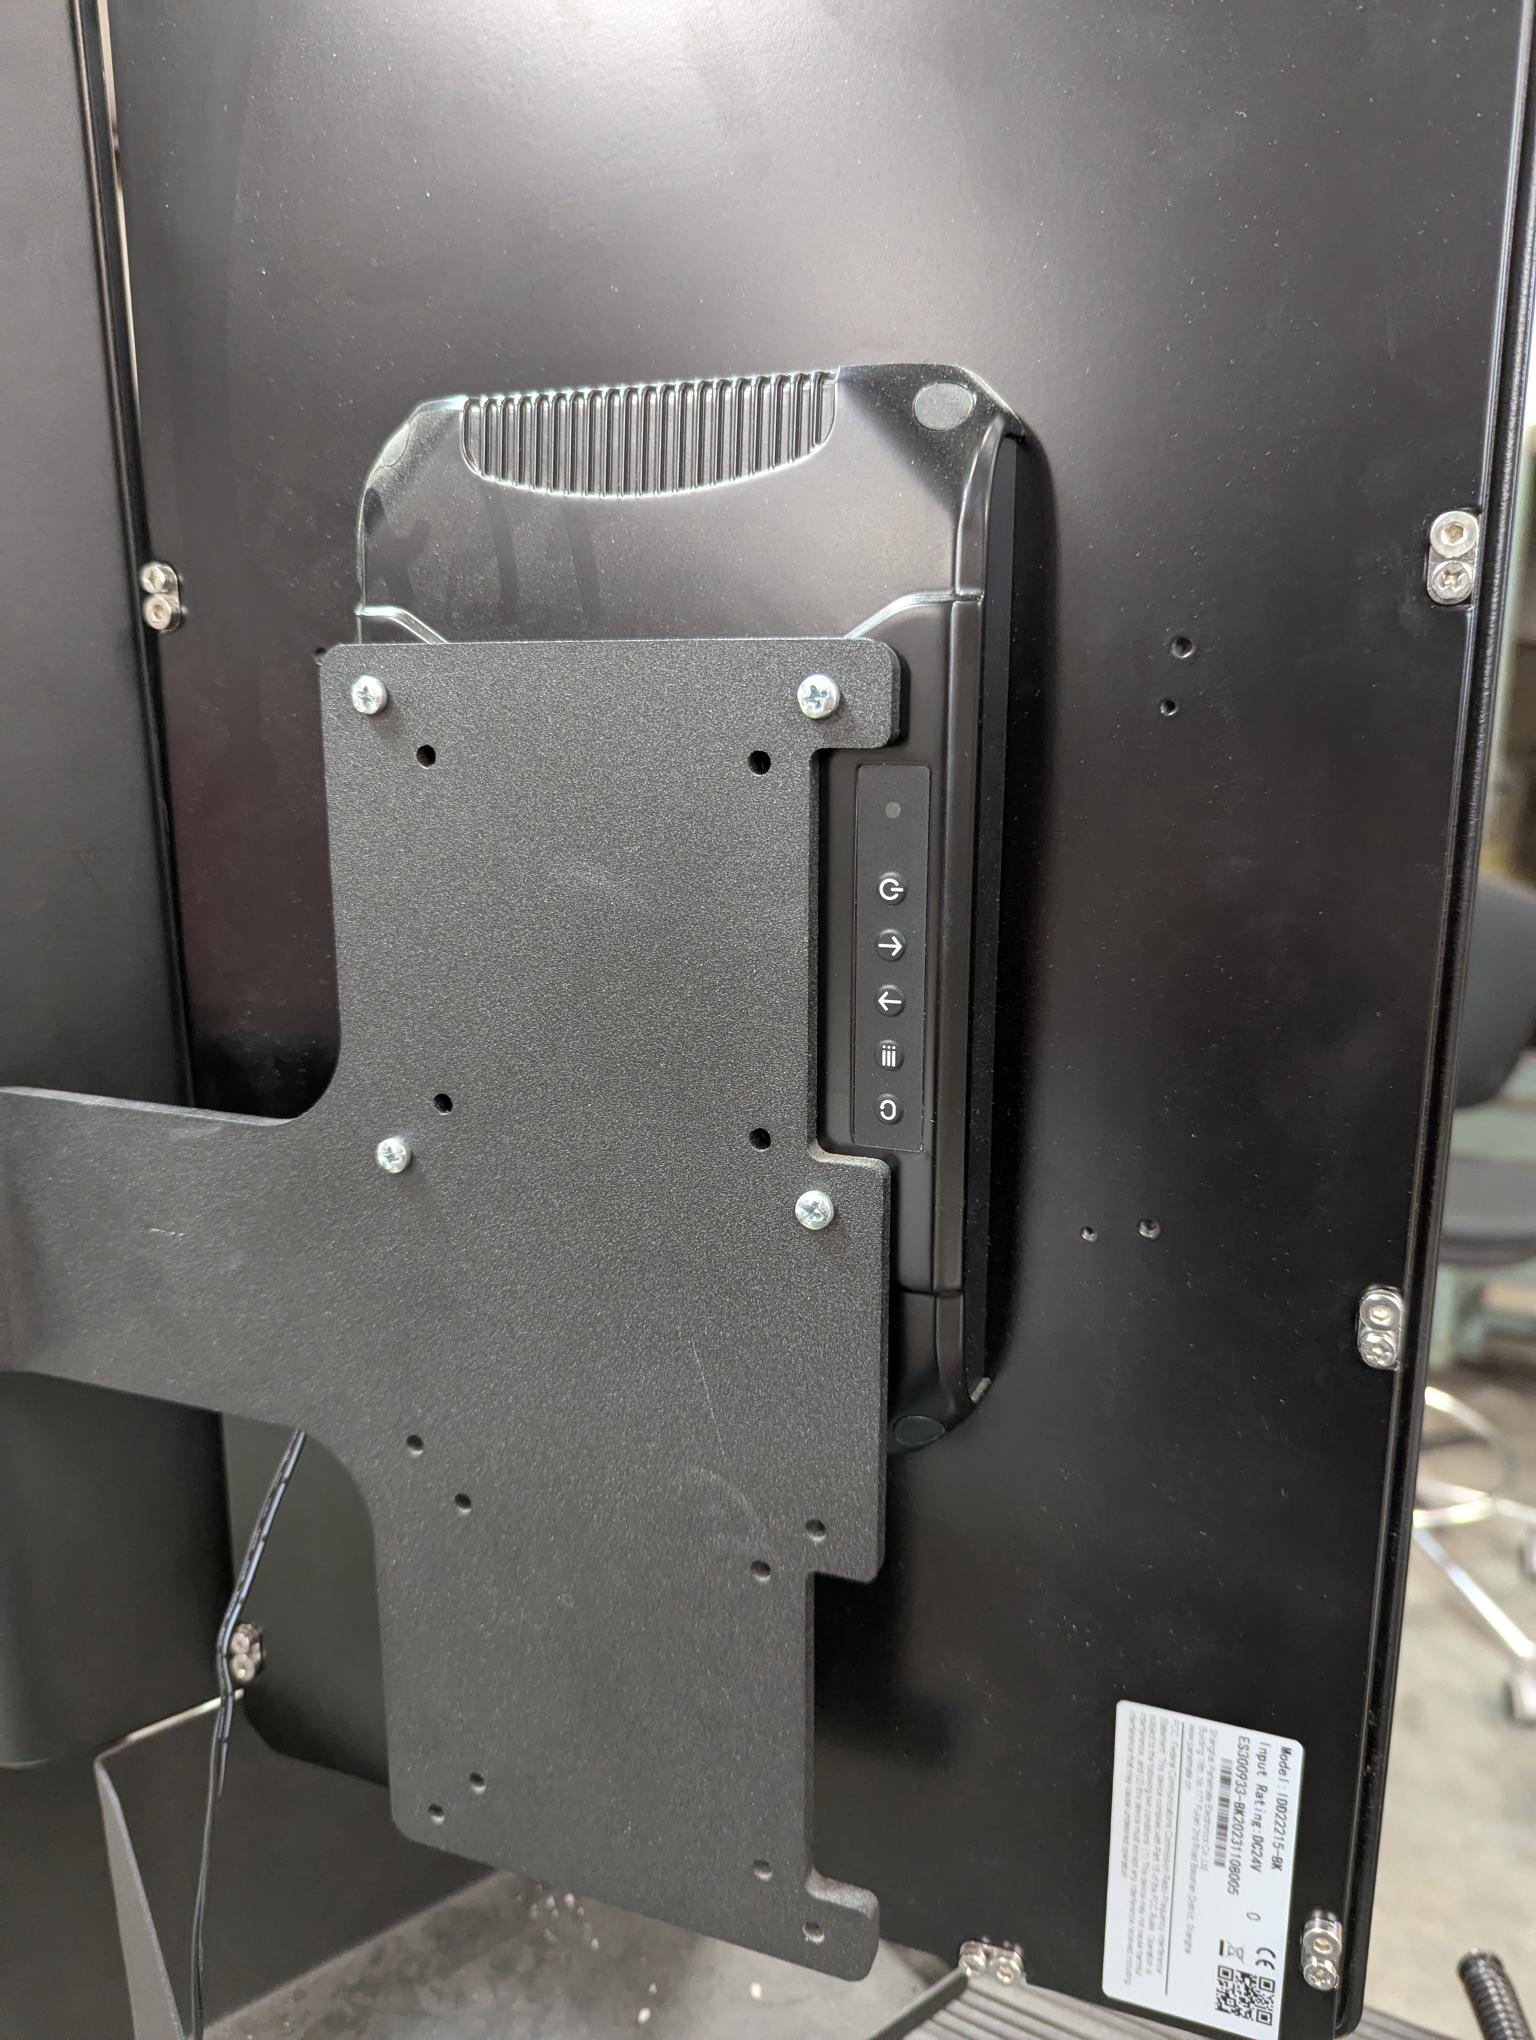
Install the back mount.

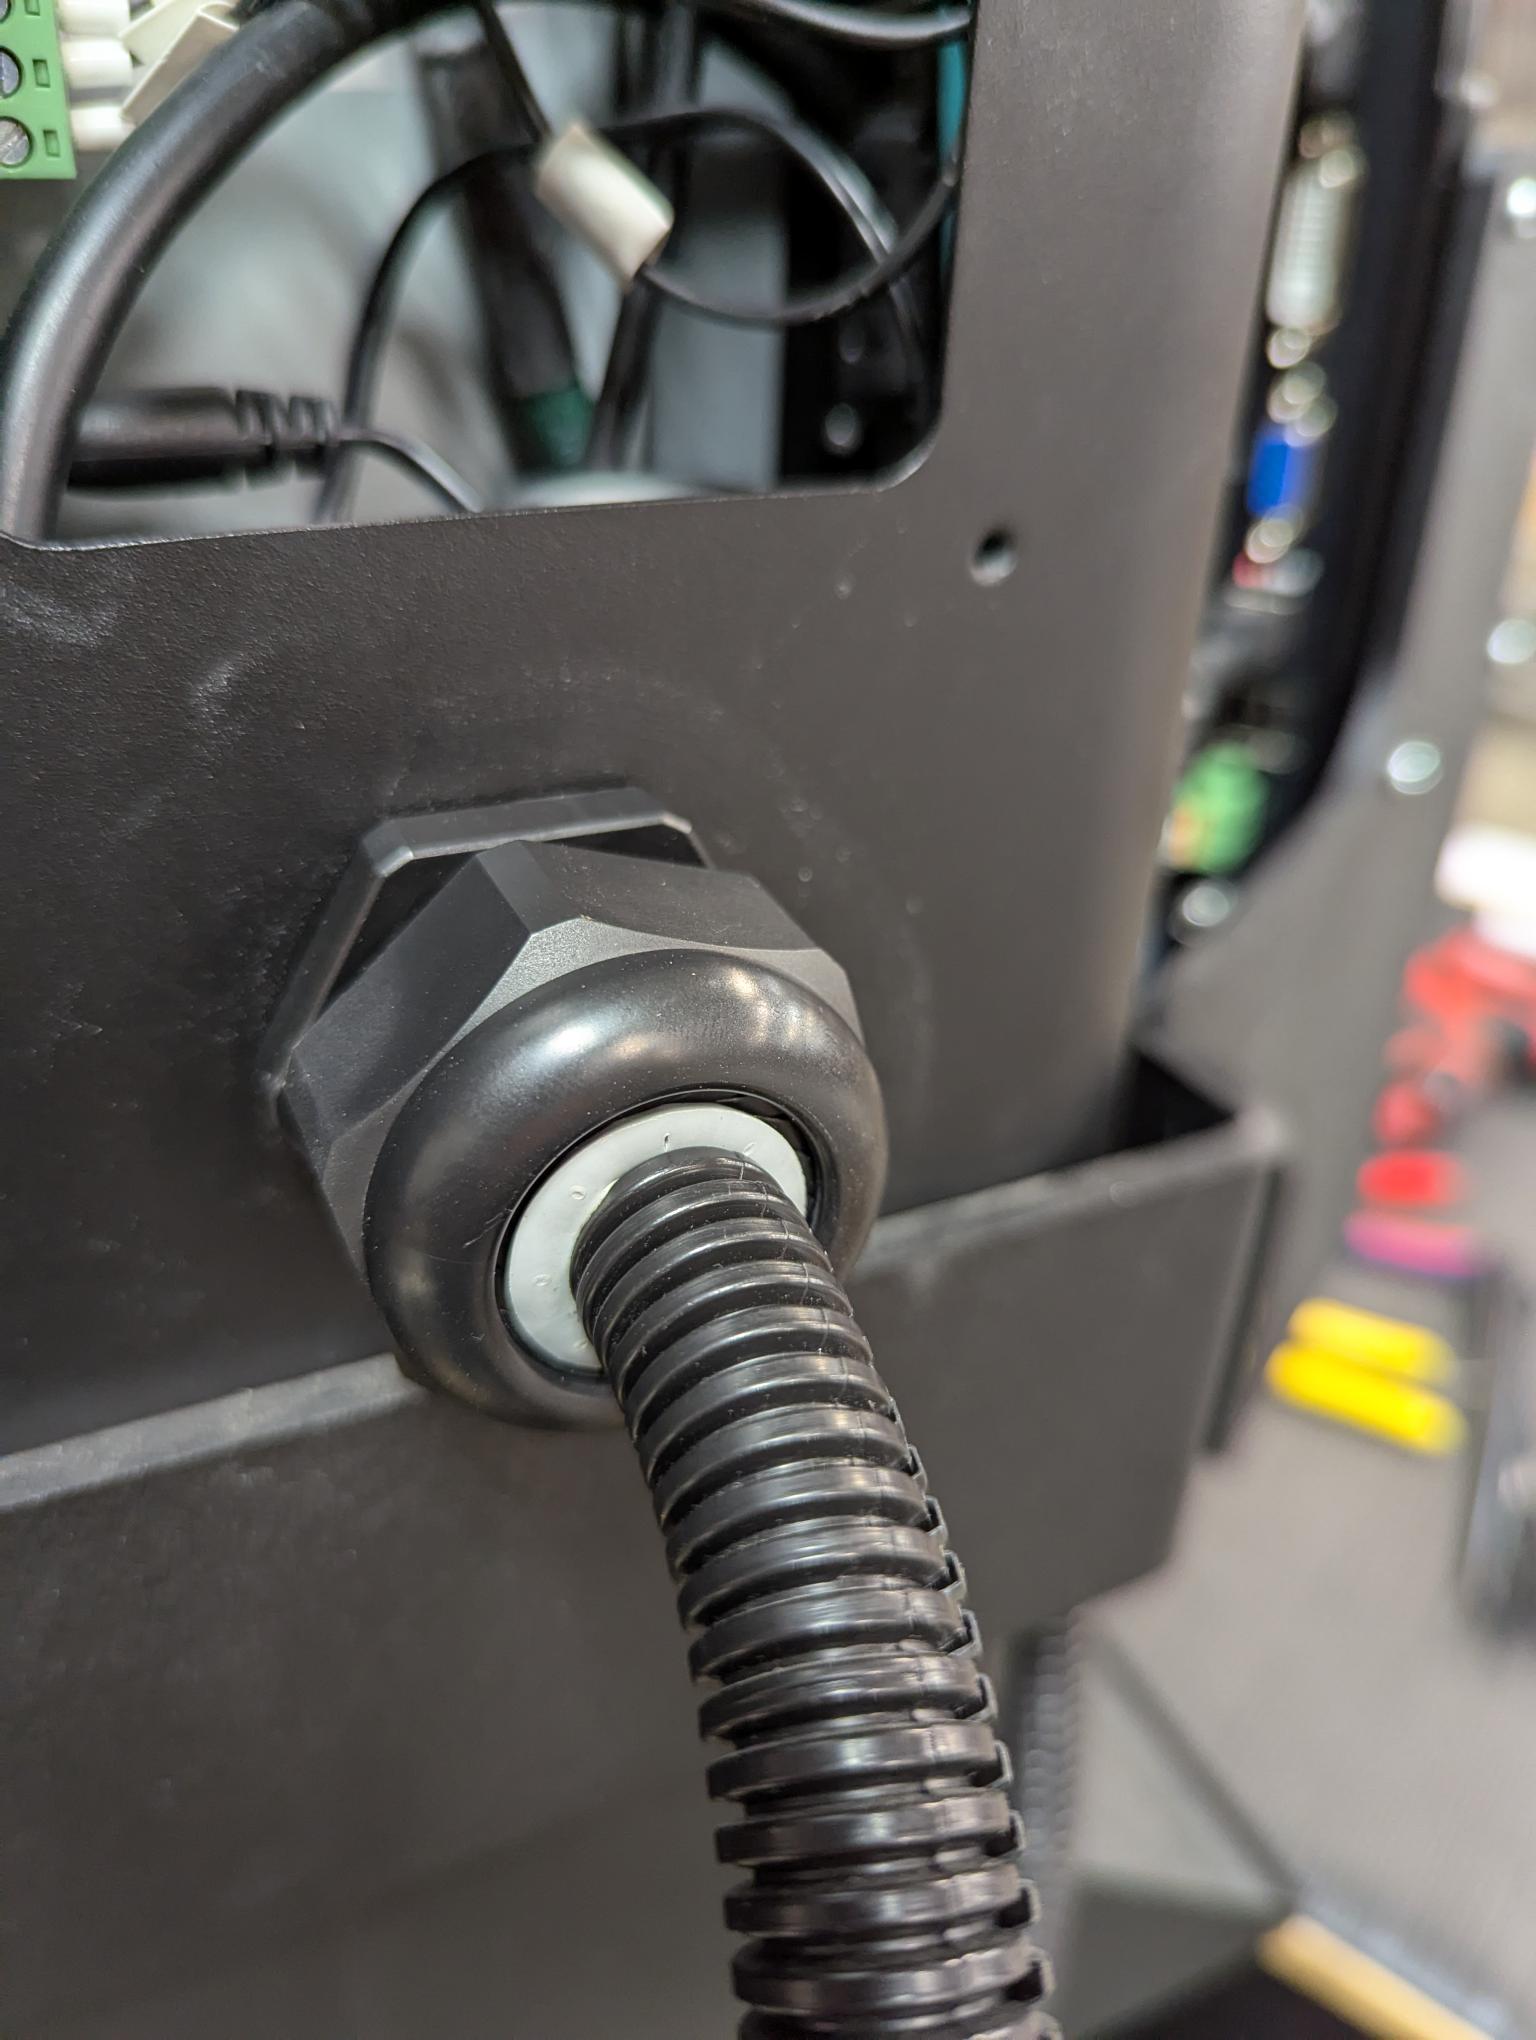
Install the conduit grip (this can be done by hand, hold the inside nut with fingers and give a 1/4 to 1/2 turn on the outside conduit griptighten with channel locks)locks, if you tighten until the inside nut slips in your fingers, that is tight enough).
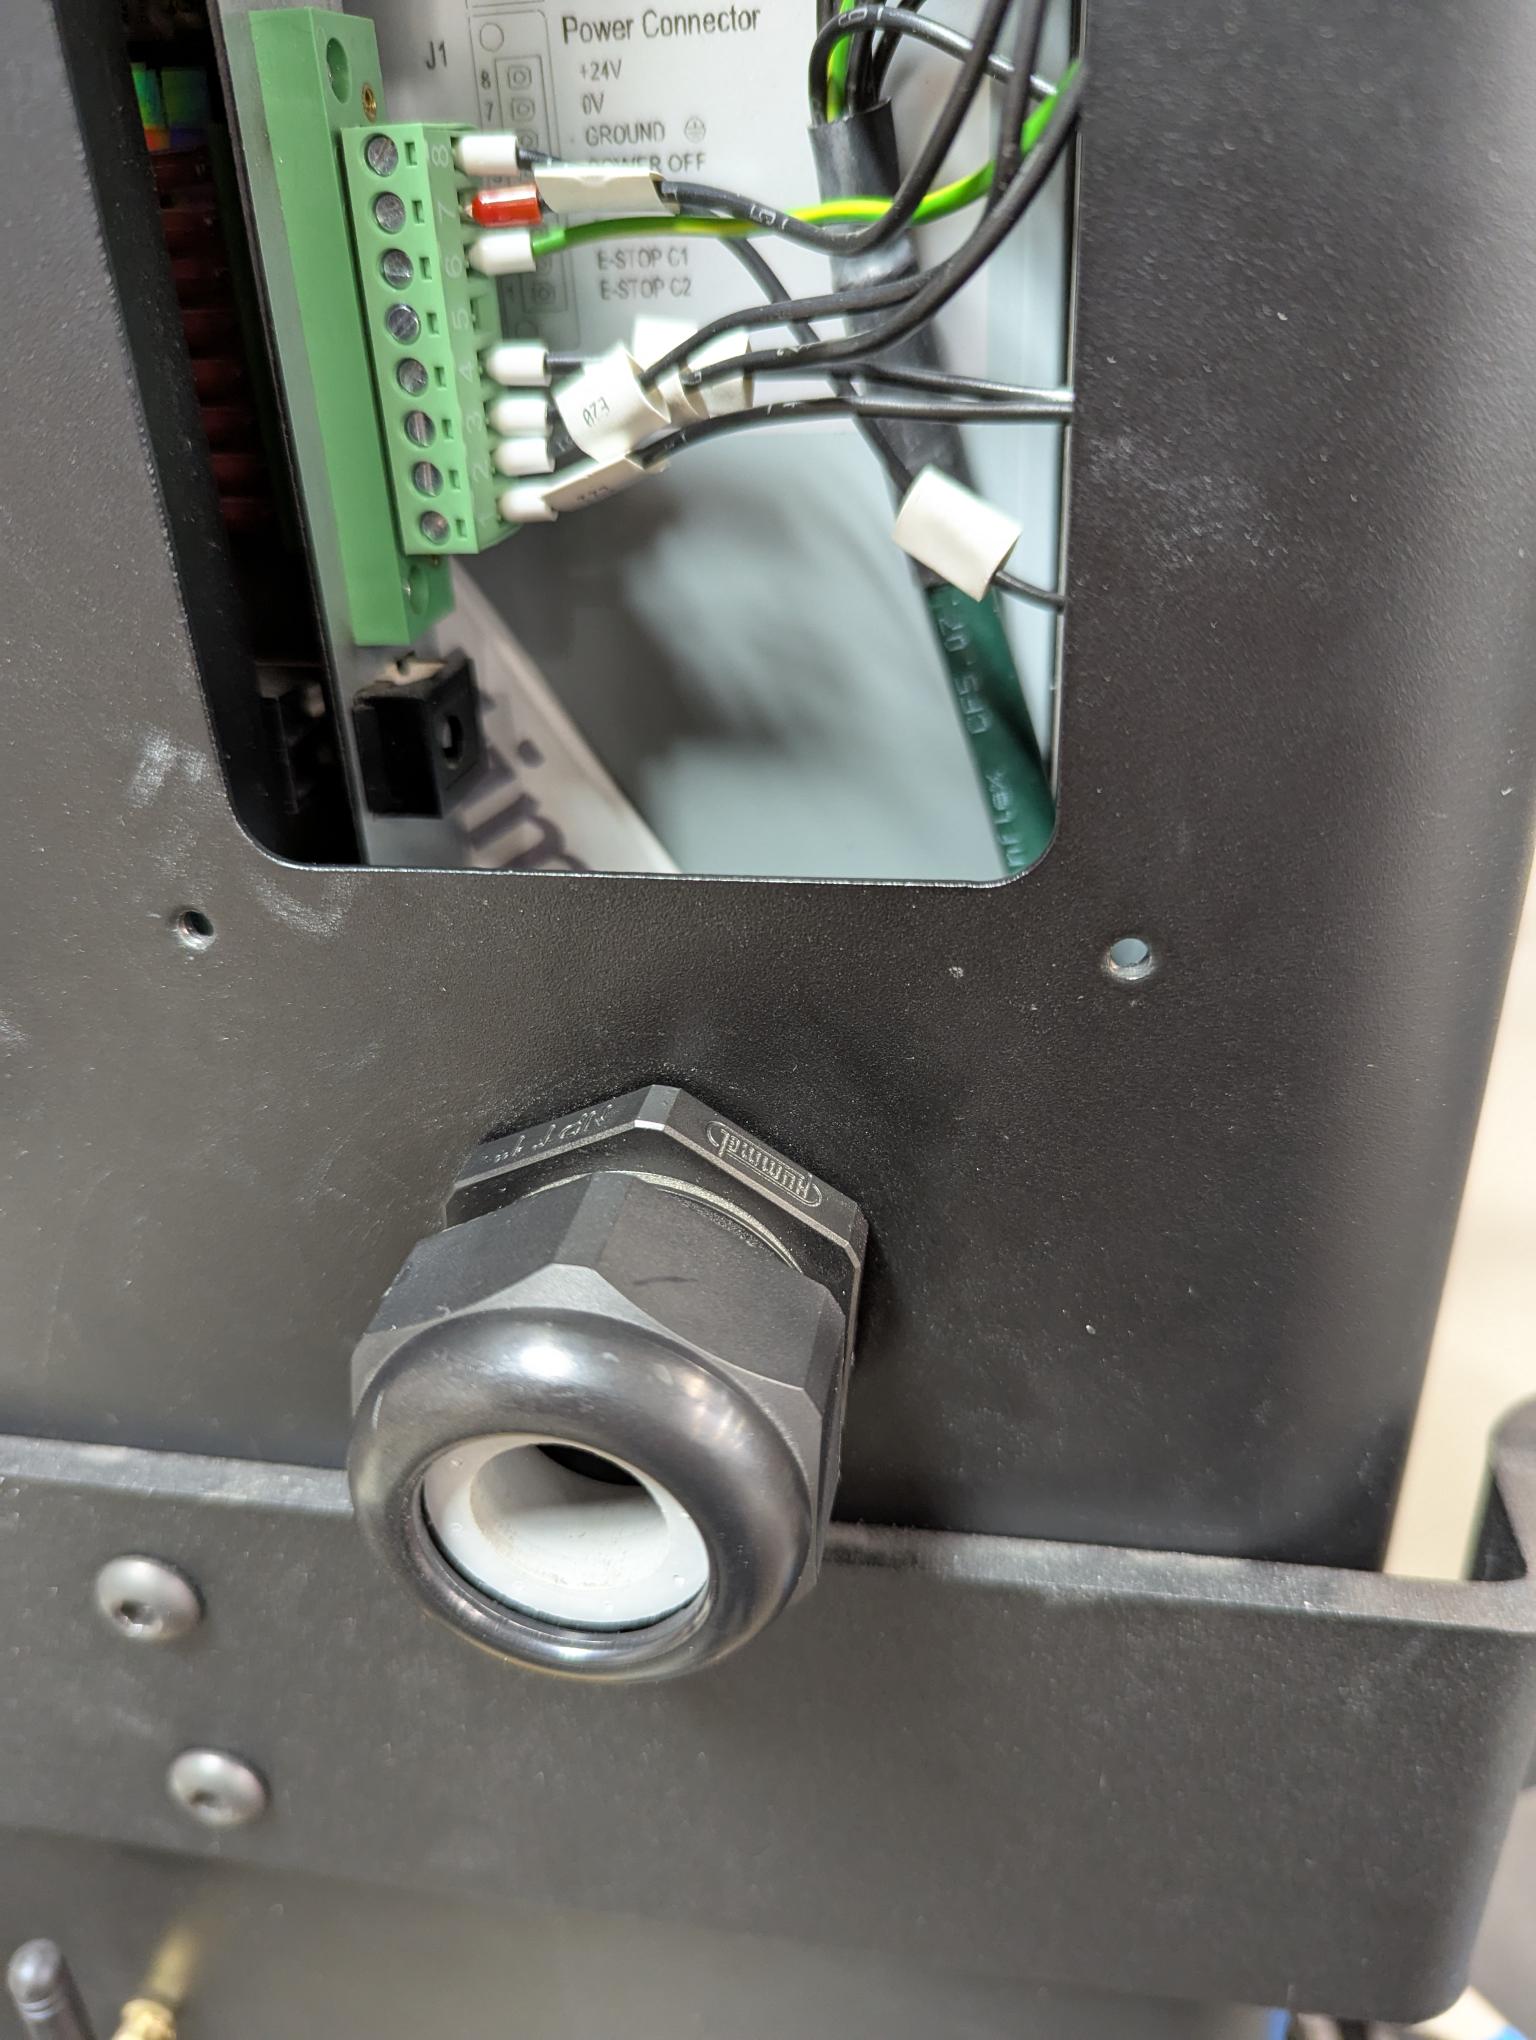
TheInstall the Monitor power cable (it will be covered by the mount when the monitor is installed on the mount)mount if the monitor is mounted on the left side of the control).
MonitorMount the monitor to the Mount.
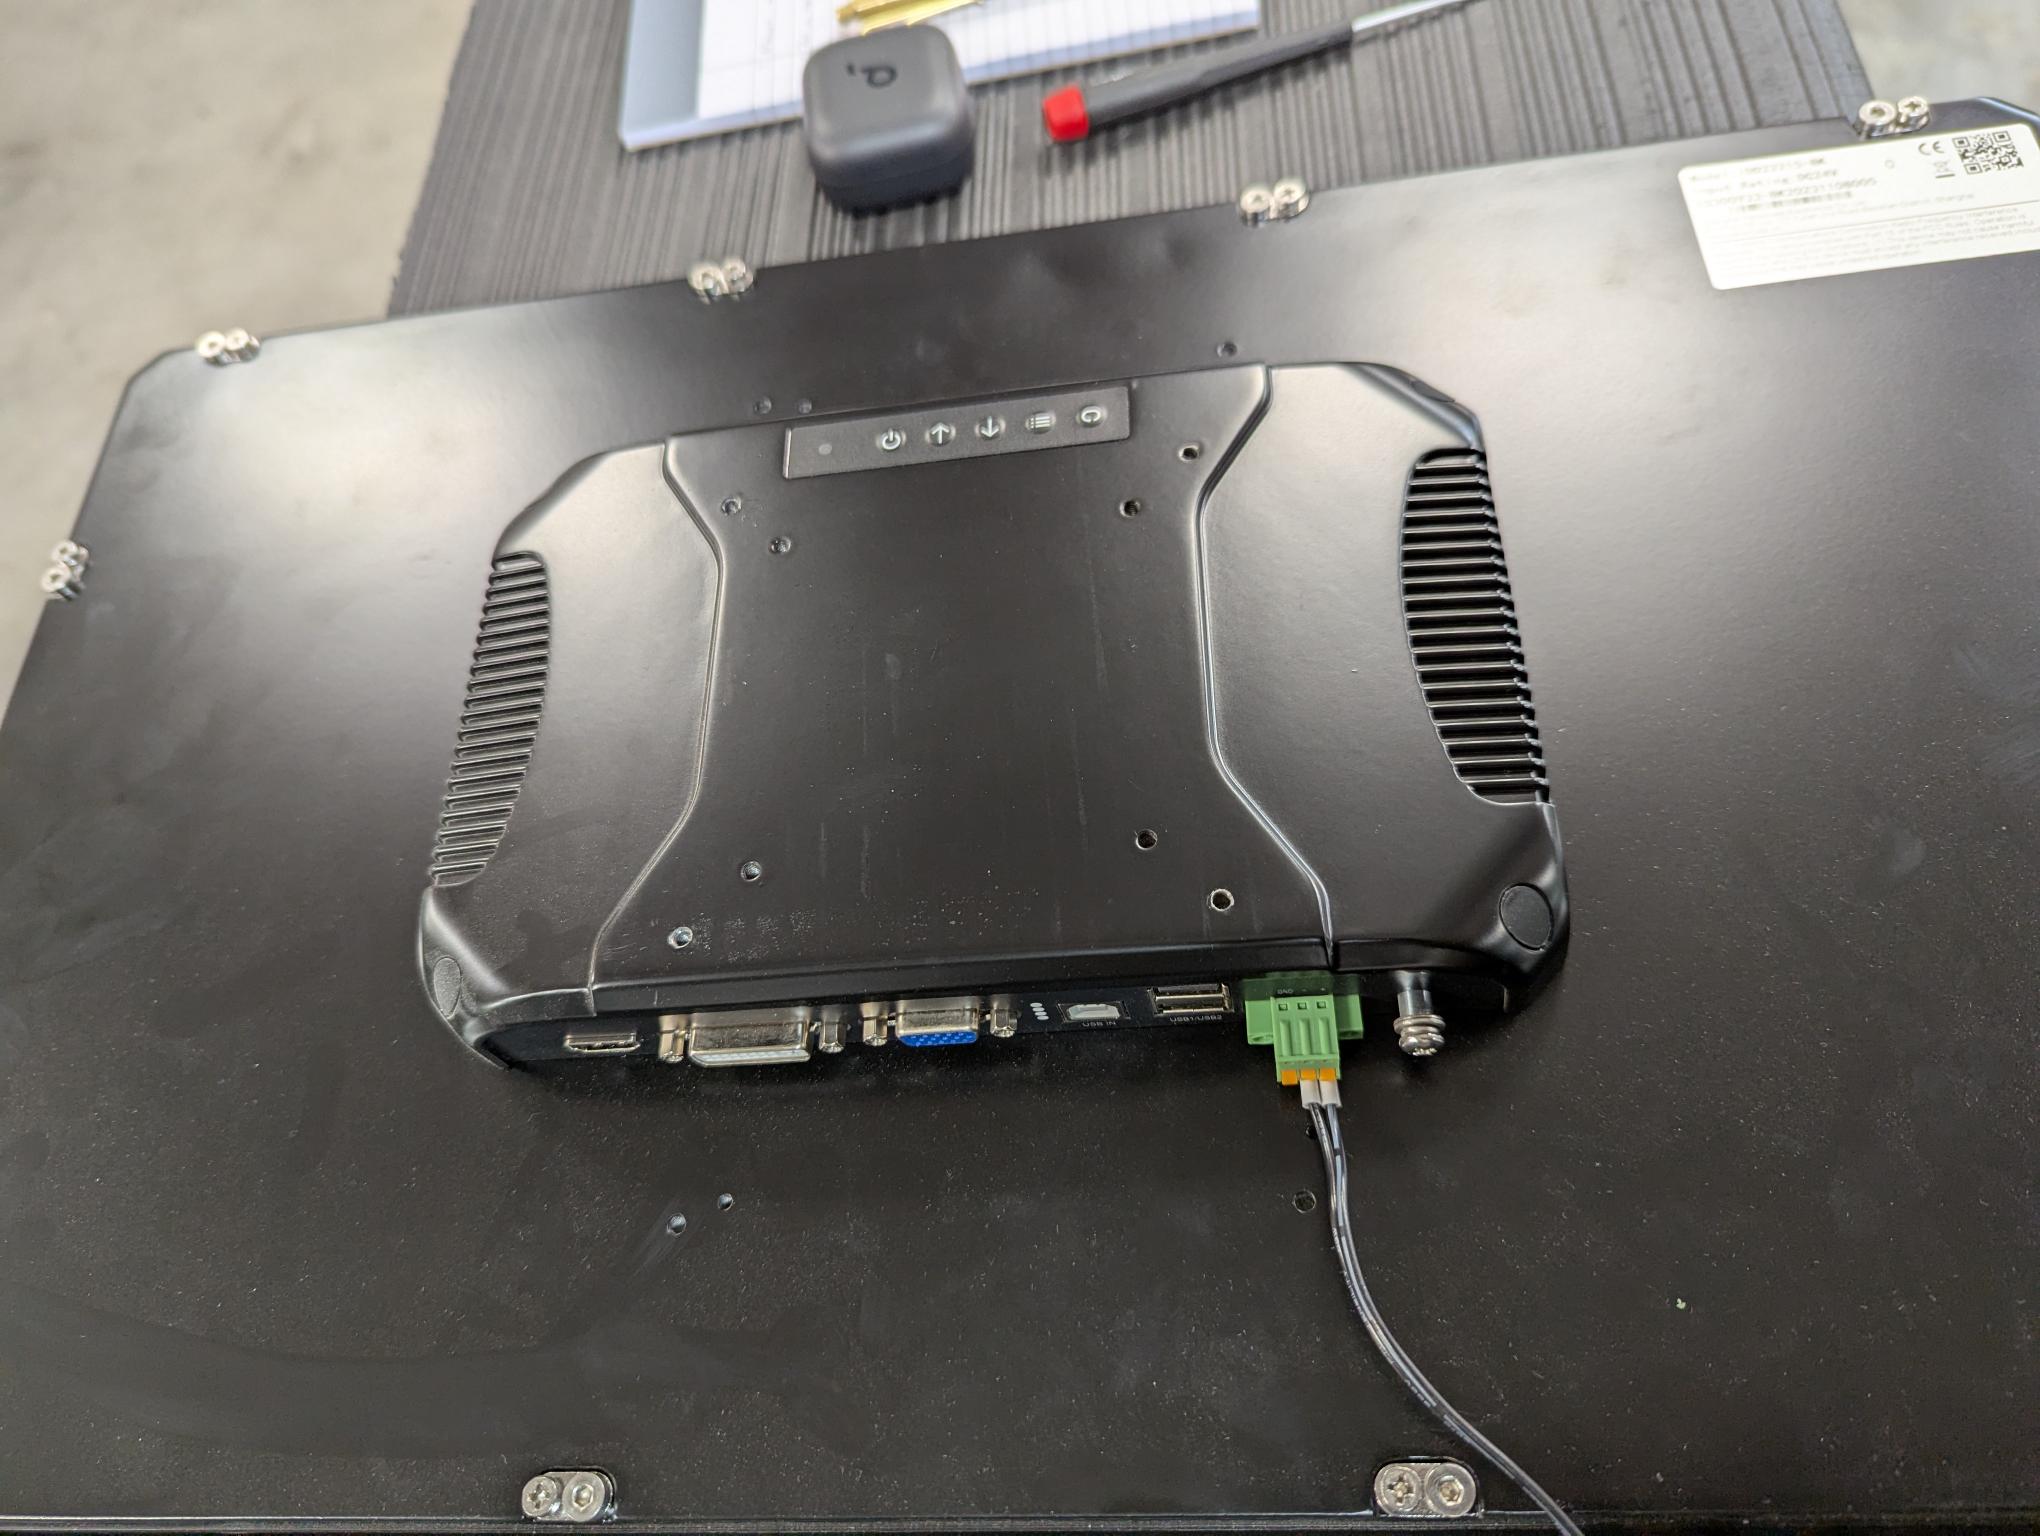
Plug Cablethe Cables into the Monitor.
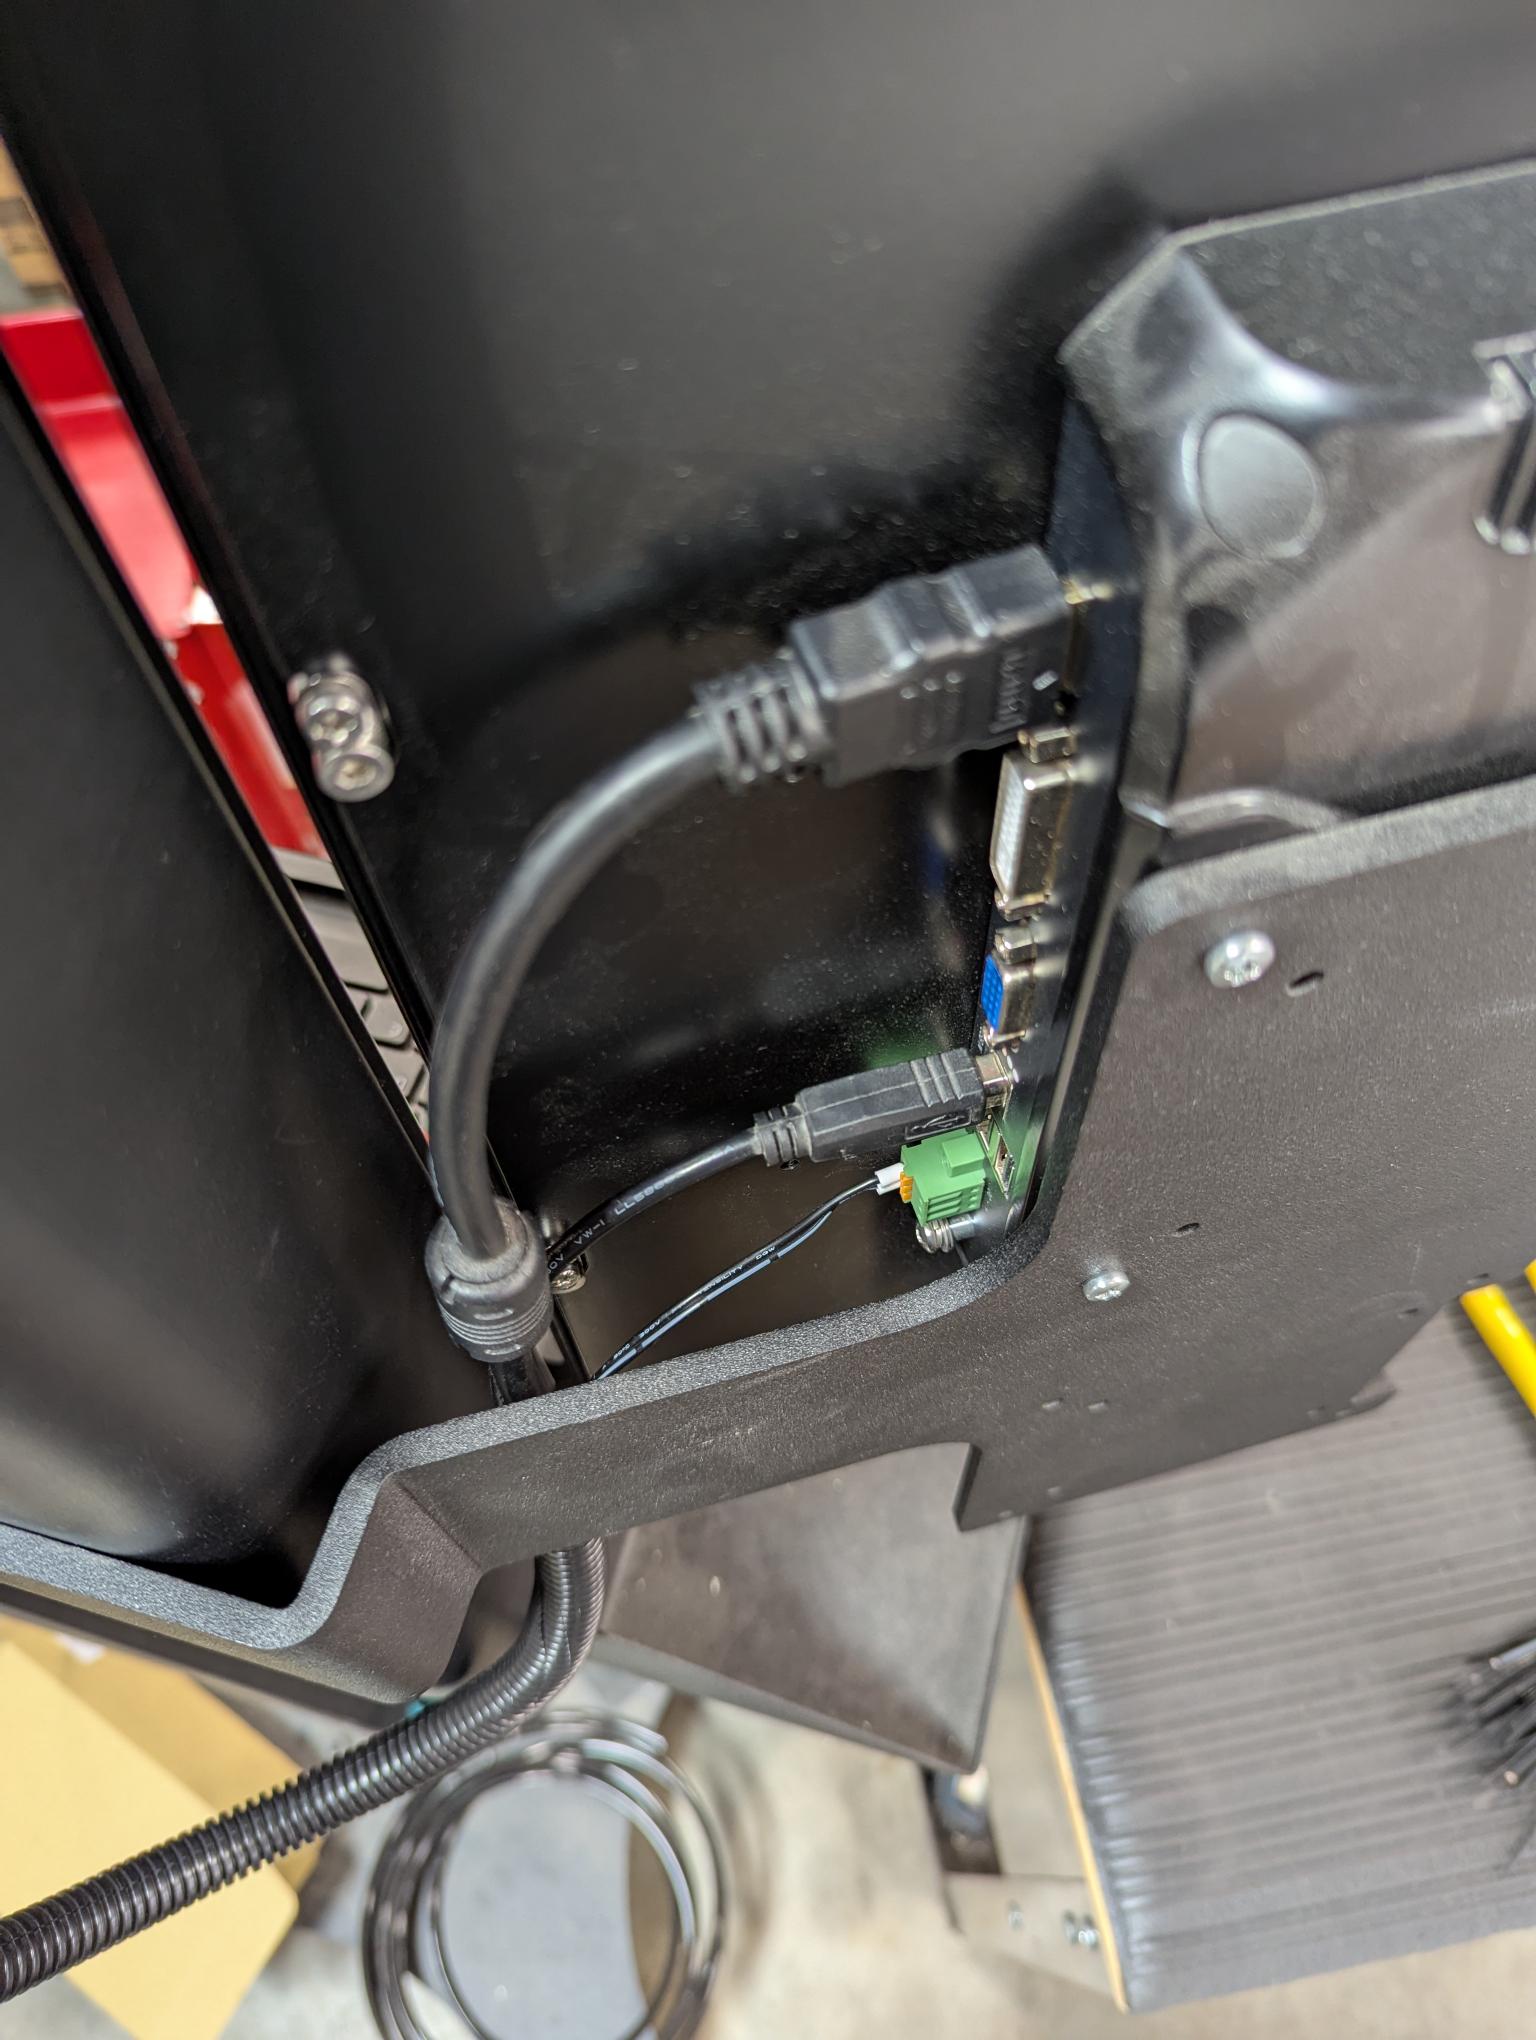
Put onthe Split Loom.Loom on all the cables.
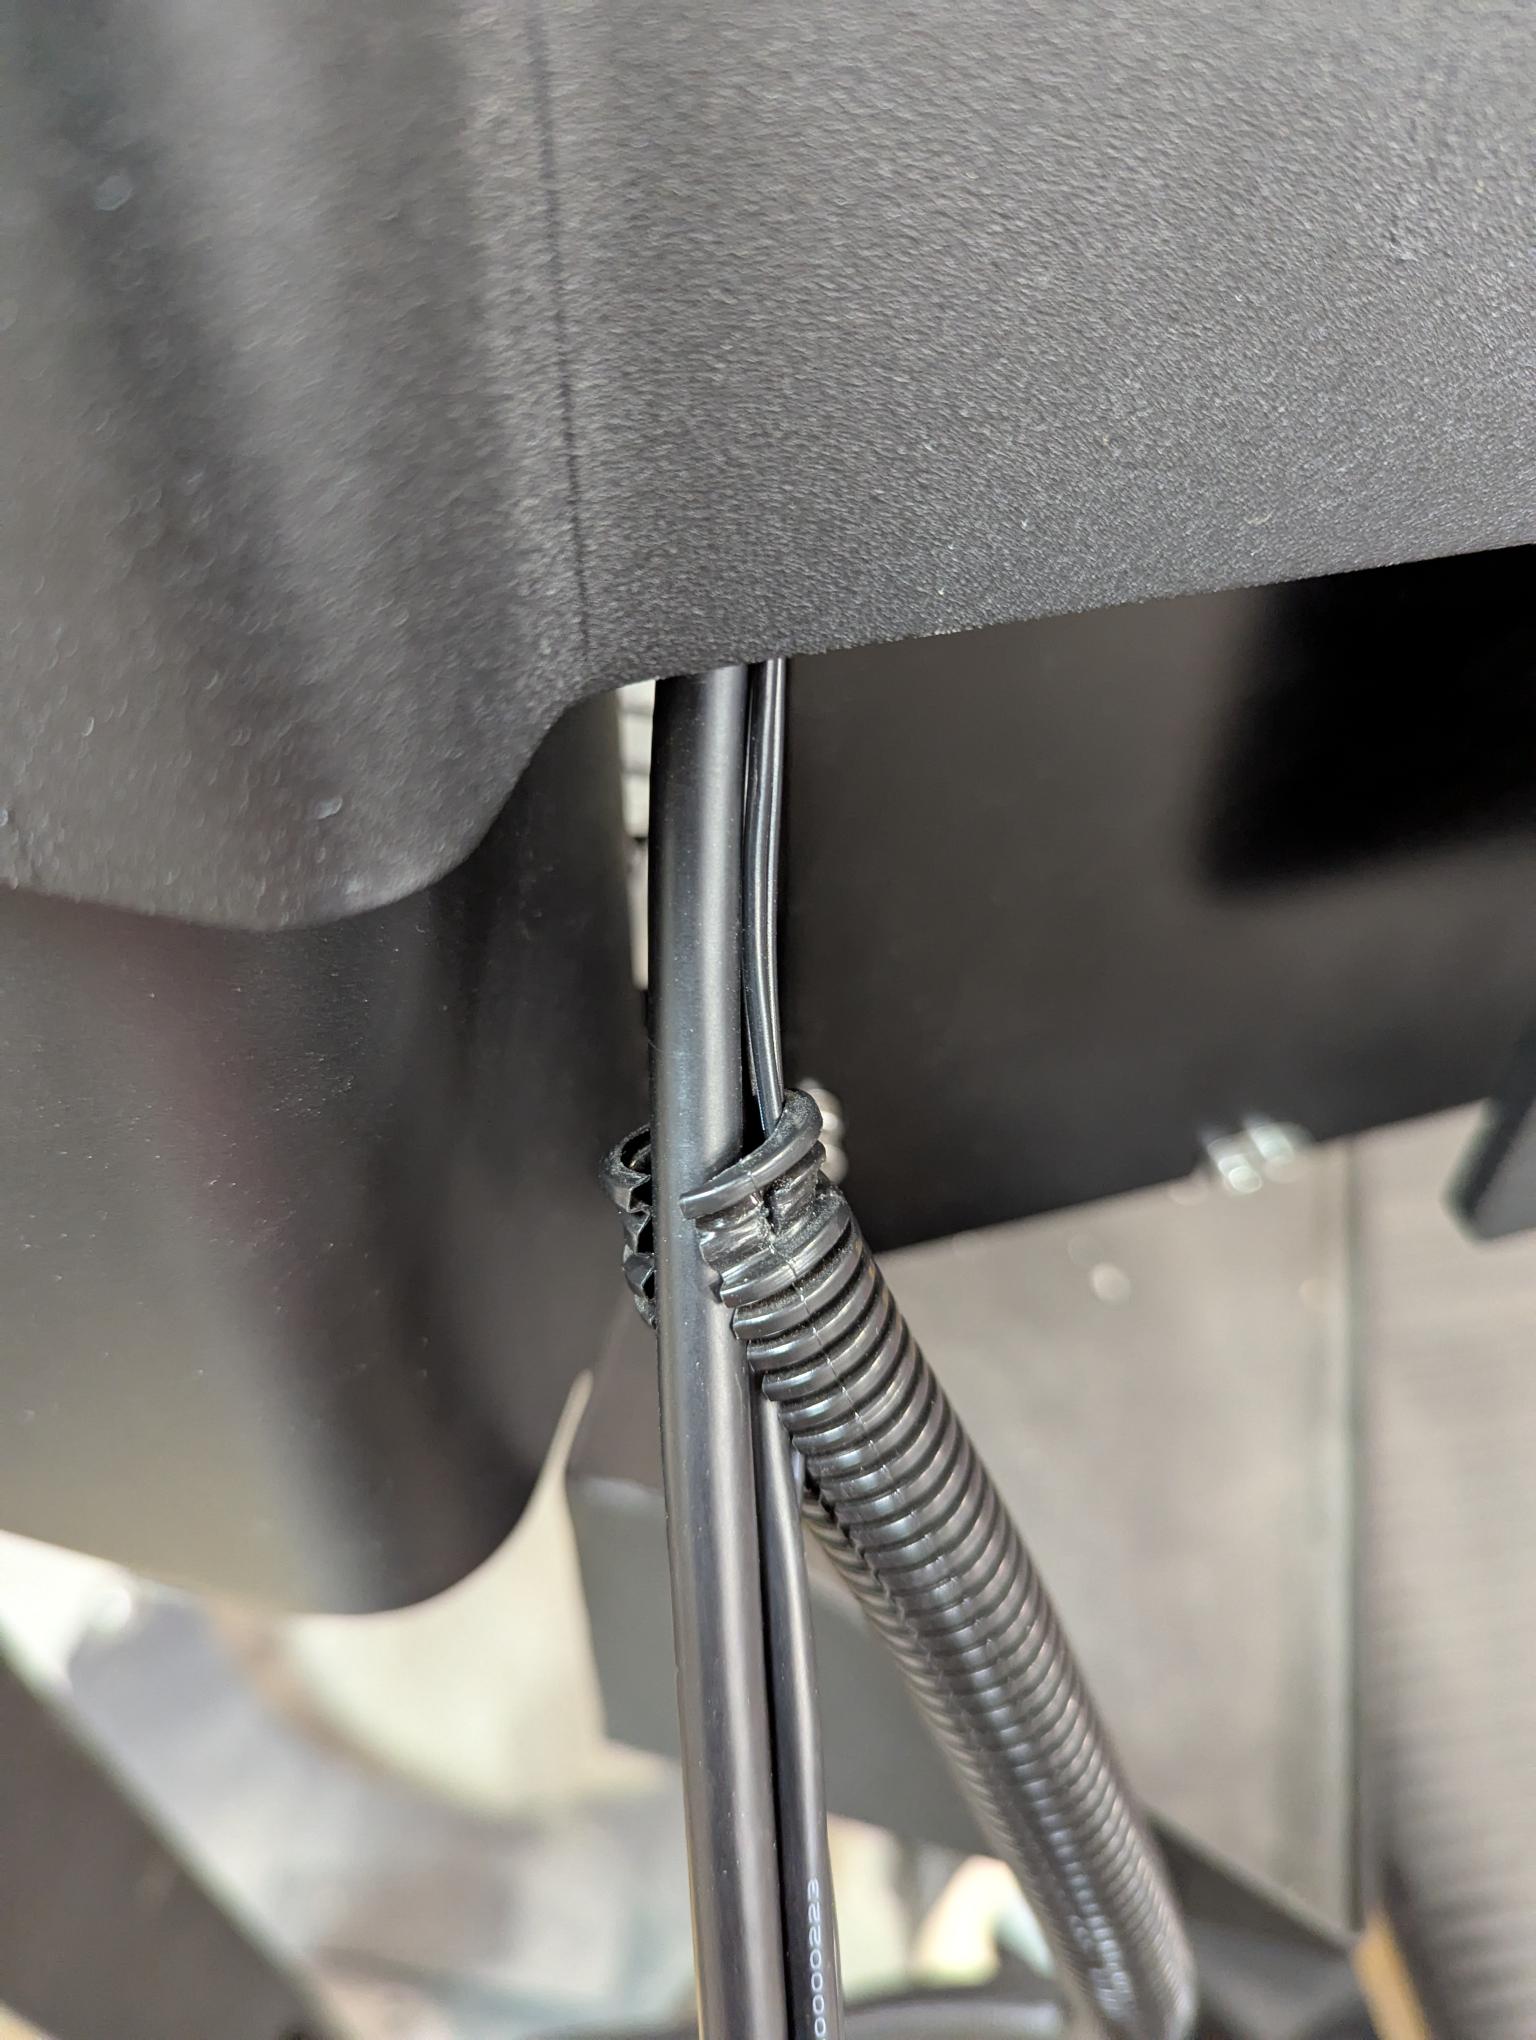
It is easier to remove the tighteningcompression nut and rubber seal. Slide those on the cables and split loom (in the correct orientation) and then run the cables through the conduit grip. One can manage to get the cables through the grip without the removalremoval, though.but it can be more challenging.
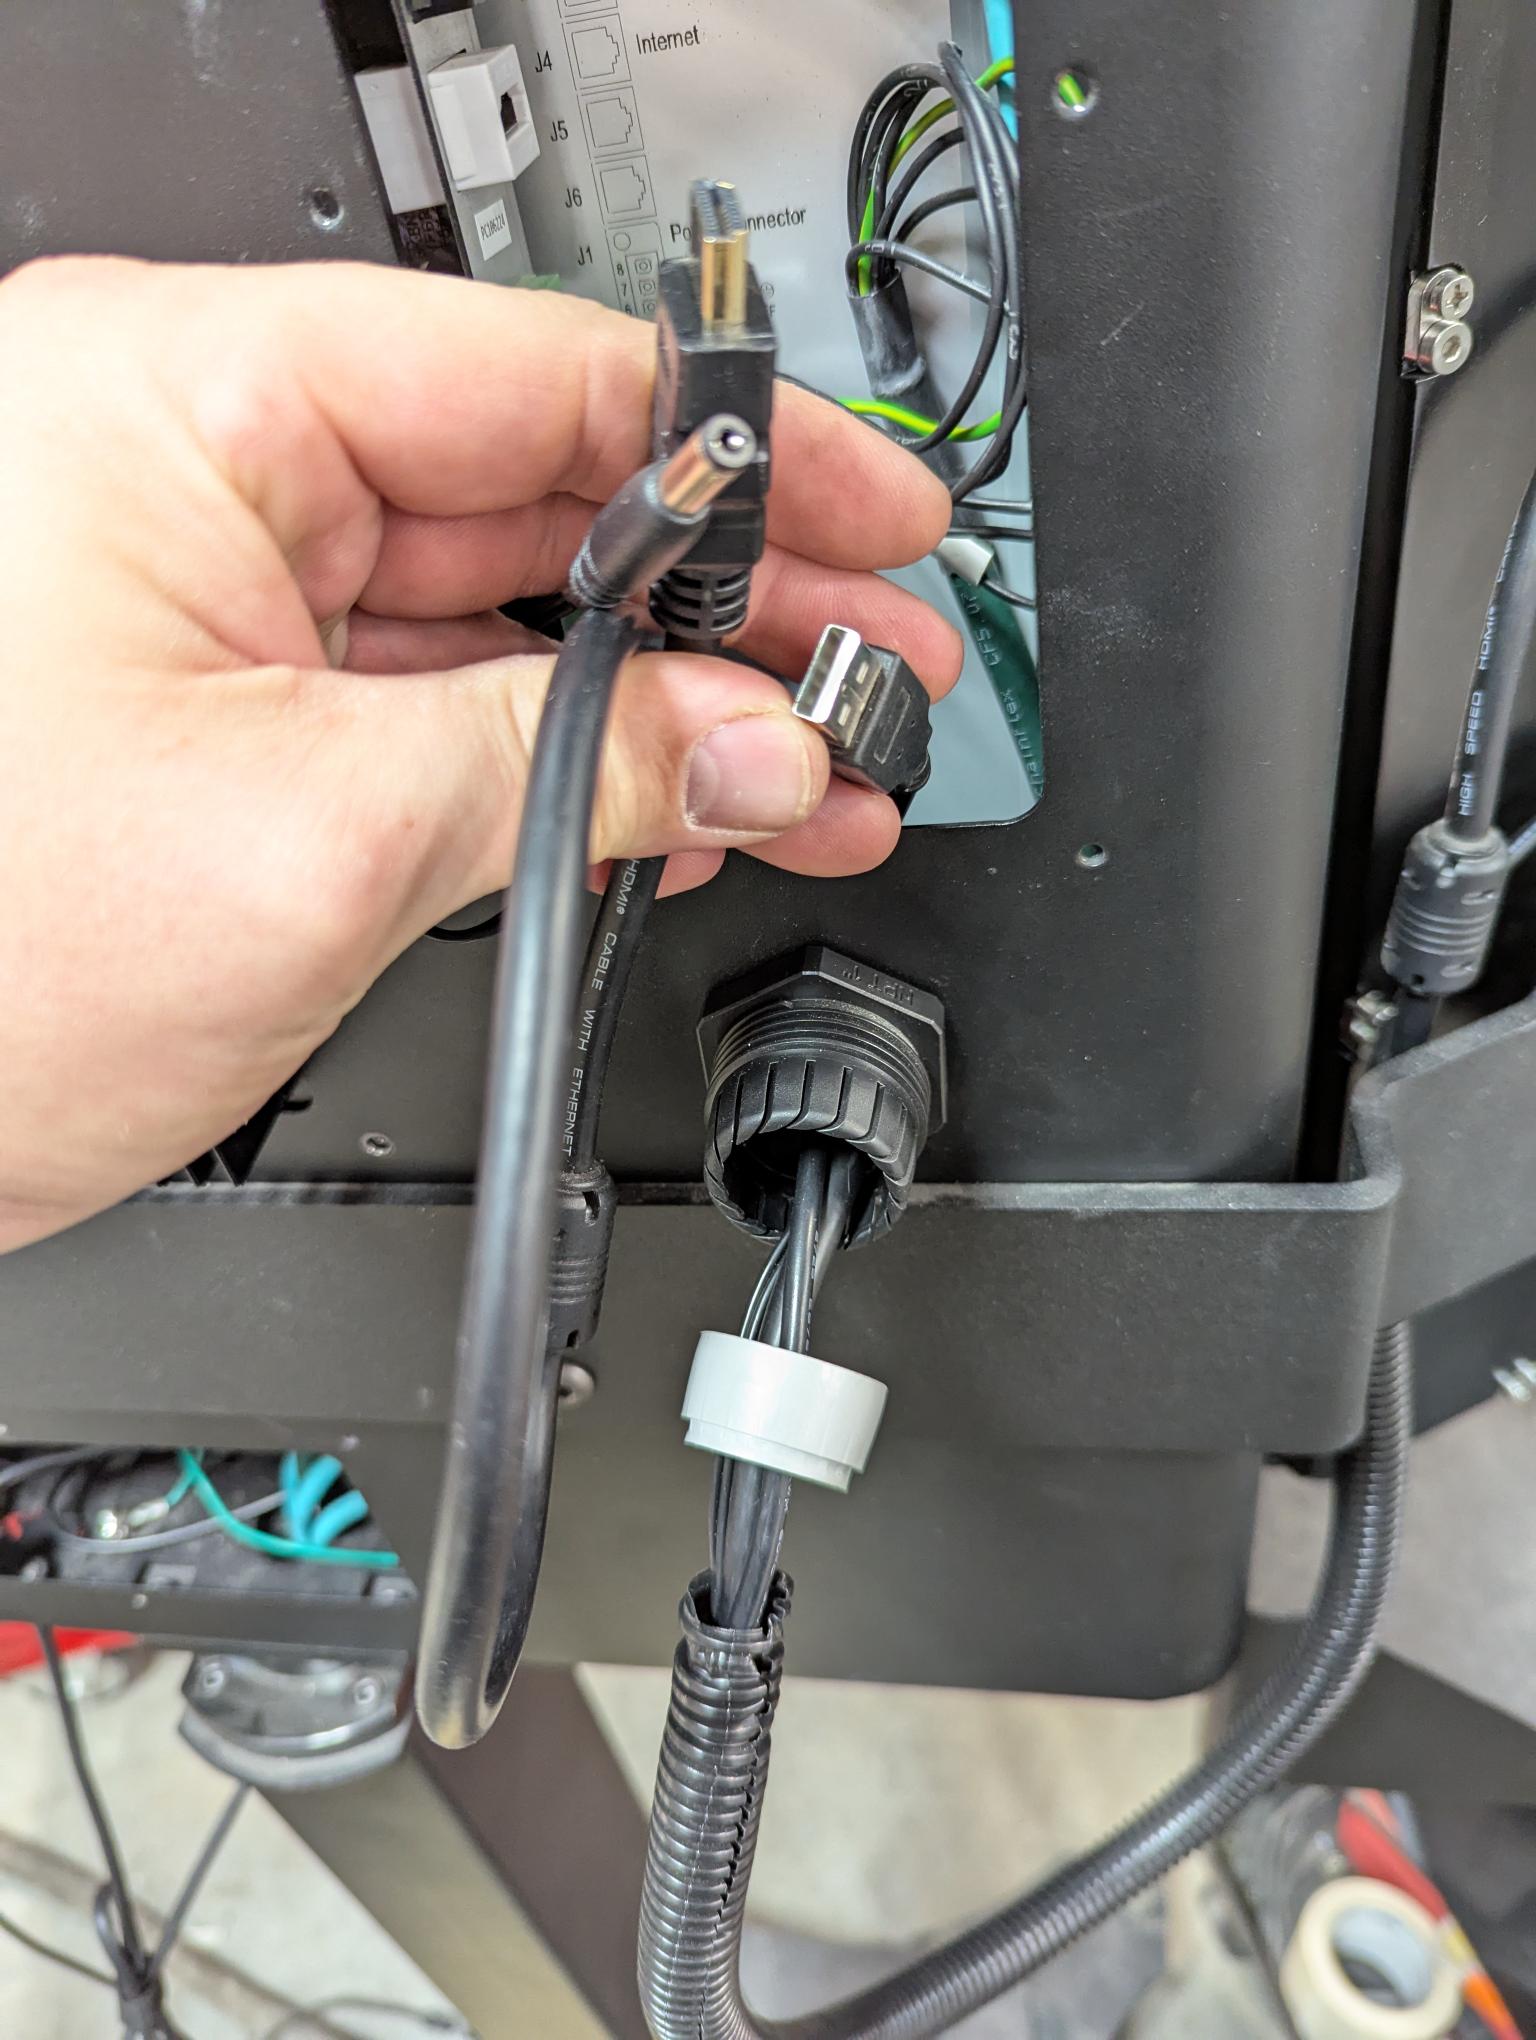
Plug the cables into the correct place and be sure to give slackof a bend radius so the cablecables are not strained at the terminal.

Slide the split loom in and tighten the conduit grip (the rubber seal doesn't have to have its guts spilling out, just tight enough that the loom doesn't pull out is perfect). You can even put a zip tie on the Dual Monitor side of the split loom for added security.
Done!!! It should like this.
