SigmaNEST Quick Start Guide
1 Introduction
This guide will discuss the basic steps in using SigmaNEST to create a cut file for use with MachMotion’s 1150P plasma control. Users have the option to either import a .dxf file or select from the SigmaNEST shape library.
MachMotion has an informational video for SigmaNEST on our Youtube channel:
https://www.youtube.com/watch?v=l5bqLvEsp7Q
2 SigmaNEST
2.1 Software Startup
Double-click the SigmaNEST icon on the control desktop or launch from the conversational assistant button in the Mach software.
Once opened, there is the option to import a .dxf or create a new task and use the SigmaNEST shape library.
Begin by selecting [Create a new task].
Set task parameters (material type, sheet/job size, thickness, clearance, etc…) on the next tab.
Next, select the Parts tab.
Select either [Load DXF File] or [Standard Shapes].
2.2 Shape Library
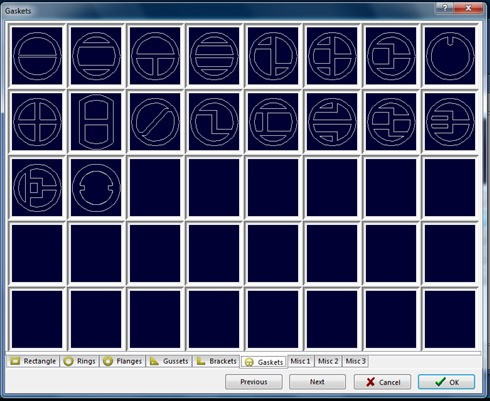
The following shapes are currently available in the shape library. Select a shape and press [Ok].
Rectangles:
Rings:
Flanges:
Gussets:
Brackets:
Gaskets:
Miscellaneous:
2.3 Part Control and Nesting
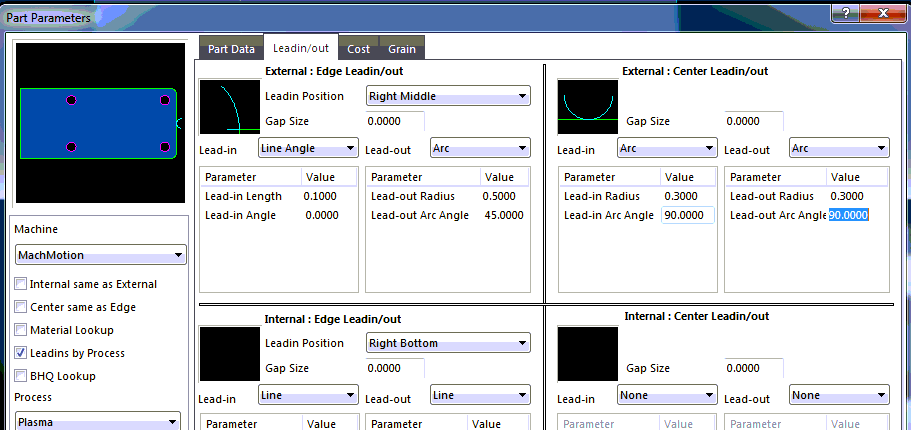
From the Parts tab, the part(s) can then be edited to adjust leadins/outs and other parameters.
Select Leadins by Process to change a lead in from the part library. Also, for angled lead in / lead outs, you must select an angle of 90 degrees or larger.
Auto nesting is also available from the Parts tab.
The Toolpath tab will show the current file’s toolpath after selecting [Generate Toolpath].
NC Simulate will simulate the part file in SigmaNEST. Select [Generate NC Code] to post and save g-code file to the control software.
3 Using the Control
3.1 Running a Program
Once the NC file has been posted from SigmaNEST, the control software will automatically load the part file and generate the toolpath.
Edit the necessary cut parameters on the lower right of the control (Cut Height, Pierce Height, and Pierce Time) and set your part zero.
When ready to cut, press [Cycle Start].
4 Appendix
4.1 Training
SigmaNEST offers remote/online training for customers that have SigmaNEST license through MachMotion as of 2/11/2019. Customers are allowed up to 3 participants during the training session and requires notice of 10 business days. Customers will need to call 513-674-0005 to schedule this training and will need to have the SigmaNEST license number ready to give to the trainer.
Here is the location of your license number: Tools Help / Config / License Manager → Hasp Detail
Warranty Information
MachMotion warranty policy is subject to change. Updated information is available at our website:
https://machmotion.com/warranty
The MachMotion Team
http://www.machmotion.com
14518 County Road 7240, Newburg, MO 65550
(573) 368-7399 • Fax (573) 341-2672


